Débuter sur un nouveau logiciel n’est pas forcément évident et on le sait. Dans ce guide nous allons essayer de vous décrire une procédure suivre pour que vous puissiez très rapidement saisir des données sur votre matériel.
1. Sign up
Of course, first of all, to access the tool, you need to register. We promise we won’t ask too much of you, and it’s quick!
The first step is to go to gost.sfimultimedia.com and click on the “Register” button.
All you need to do is enter your company name, your first and last name, an email address, and finally, set a password.
Important: Your password must contain at least 8 characters, 1 capital letter, and 1 number.
And that’s it!
Then simply log in to your previously created account!

2. The first time
Once you’ve correctly entered your login and password, you’ll have access to the full tool.
You’ll initially see an empty dashboard, but don’t worry, it will quickly fill up with the data you enter!

3. The menu
The navigation menu is an essential element of an application’s user interface. It allows you to easily move between different sections or pages, improving the user experience and content discoverability.
Home: This link allows you to return to the dashboard you land on each login.
Equipment: This is the heart of Gost; this is where you’ll be able to enter all the equipment you have.
Staff: Here you’ll be able to enter the staff to whom you want to assign and track equipment.
User List: Not to be confused with staff, the user list will allow you to create new accounts to access Gost, essential for sharing and entering information as a team.
Configure: This is where you’ll be able to manage all the site’s drop-down lists. To save you some work, we’ve already configured the lists with the most common values. But you’re free to add all the brands, suppliers, equipment types, operating systems, storage types, and data receivers your company uses.

4. Settings
To get started, it’s important to think ahead about the data lists you’ll need to ensure the creation of your hardware runs smoothly. Here, you can enter:
- Brands (e.g., Apple, Sony, Dell, etc.): This is the brand of the hardware
- Suppliers (e.g., Darty, LDLC, etc.): This is the retailer from which the hardware was purchased
- Hardware Types (e.g., Laptop, Monitor, Printer, etc.): This is the list of all the hardware you’ll want to reference on GOST
- Operating System (e.g., Windows, Linux, etc.)
- Storage Type: This is the product’s disk type
- Donation Recipients: This is the list of institutions to which you’ll be donating your hardware at the end of its life.

5. Materials
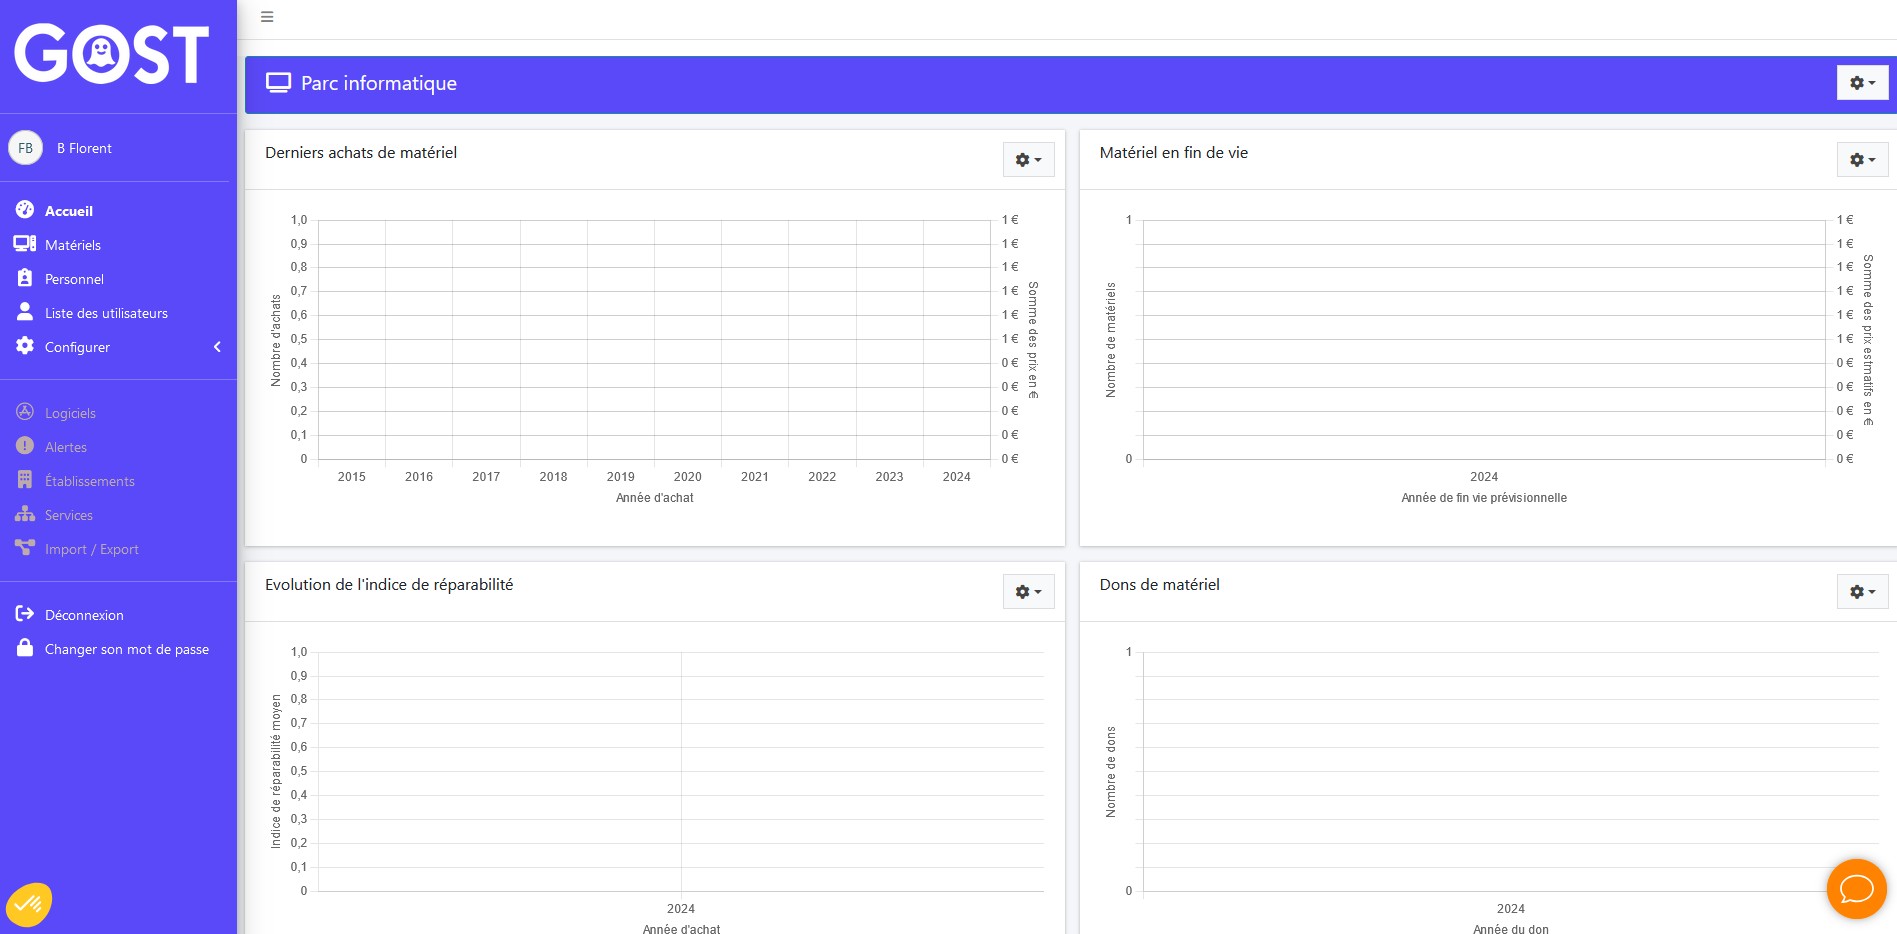
This is where everything depends on the proper use of Gost.
You can use this menu to create new or modify hardware.
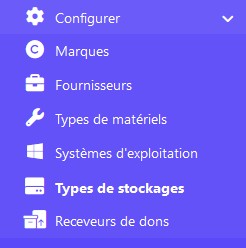
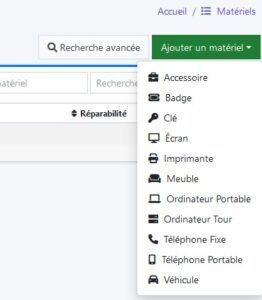
By clicking Add Hardware, you’ll see a drop-down list of all the hardware types defined in your environment. You can, of course, add more as you wish (Configure > Hardware Types).
6. Staff
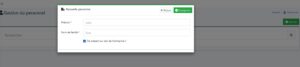
The personnel page will allow you to view the people using the company’s equipment.
You can create one using the “Add” button. A minimum of information is required.
With this, you can then assign your equipment to your staff.
And you’ll have a quick overview of all the equipment that has been assigned to company personnel.
7. User list
8. Softwares
The Software section will allow you to list the software and licenses you own, and to which users they are assigned. Ideal for managing your software costs and tracking unassigned “dormant” licenses.
… Please be patient, this feature is currently under development…
9. Alerts
The Alerts section will allow you to be notified by email, on GOST, or via a summary table when a piece of equipment is about to be depreciated, reaches the end of its life, etc.
… Please be patient; this feature is currently under development.
10. Offices
The Locations section allows you to assign equipment or a person to a “location.” This is ideal when the company has multiple locations, e.g., “Saint Etienne” / “Montpellier” or “Offices” / “Warehouse.”
By assigning an employee to a location, all equipment assigned to them will automatically be transferred to that location.
11. Services
Like establishments, you can assign people and equipment to departments to gain clear statistics and a comprehensive view of the costs of your sales or technical department.
… Please be patient, this feature is currently under development…
12. Import / Export
Creating everything by hand is fine, but doing it in bulk is even better 🙂 Chances are you already have an Excel file listing your equipment and who it’s assigned to, so soon you’ll be able to import it!
… Just a little more patience, this feature is currently under development…